
32 Radius Garage Door Track: 5 Checks Before You Buy
32 Radius Garage Door Track: 5 Checks Before You Buy
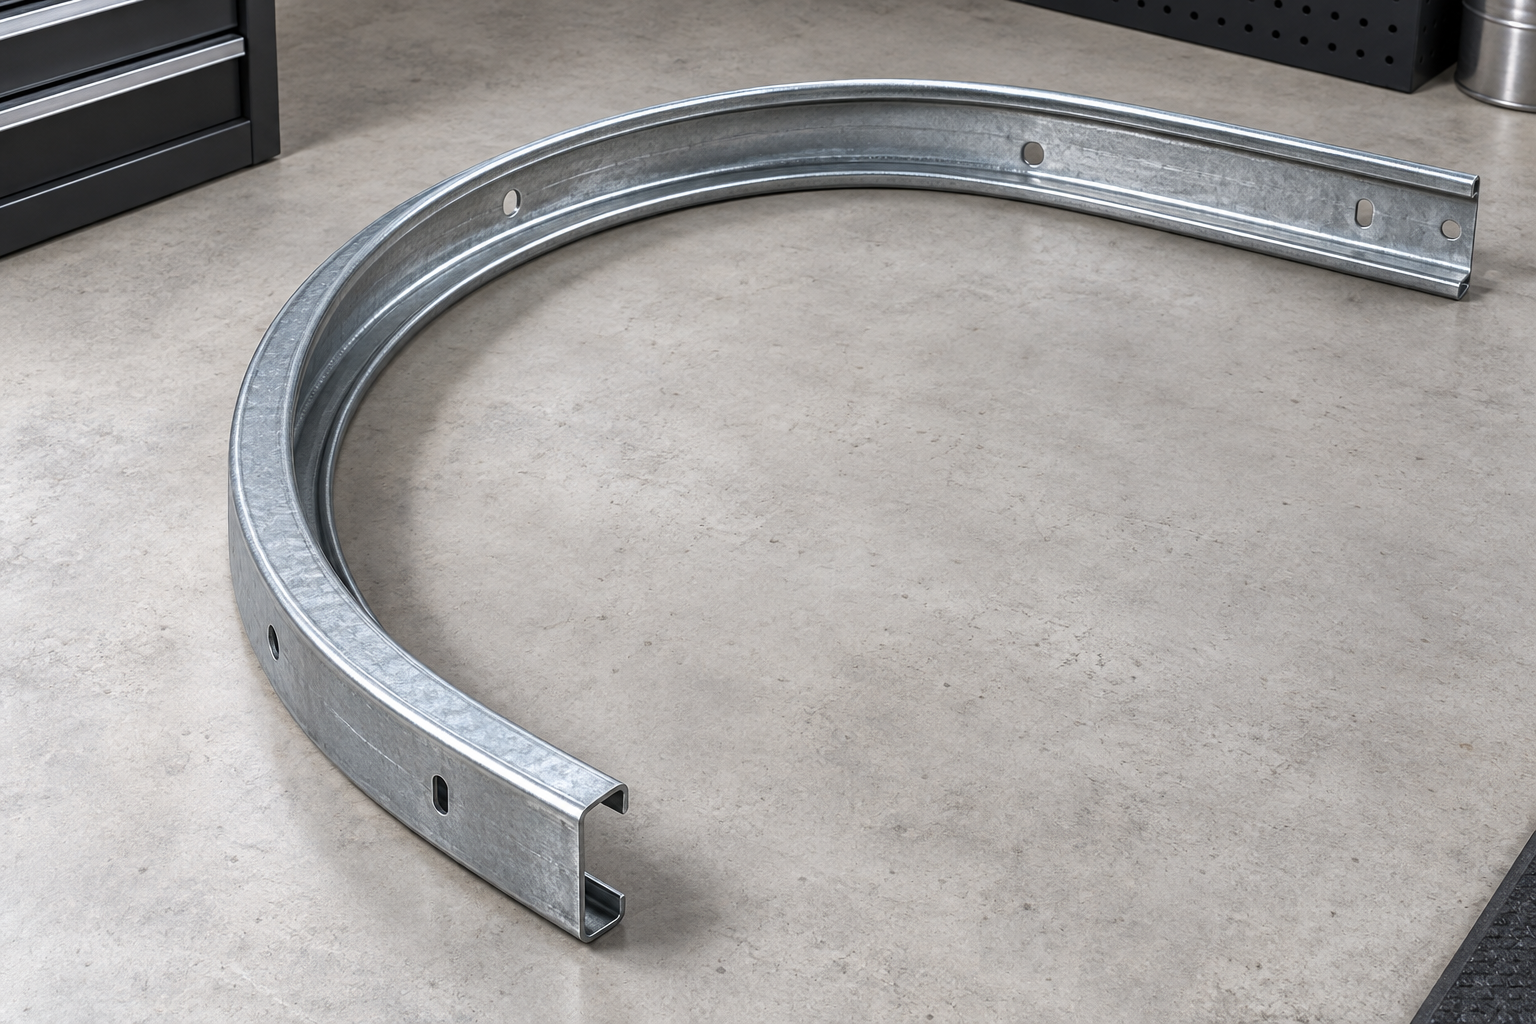
A 32 radius garage door track has a nominal 32-inch curve where a sectional door changes direction from vertical travel toward the ceiling. It is a real hardware option: manufacturer Arrow Tru-Line lists 32-inch-radius track among its two-inch track offerings. However, that number alone does not establish whether it fits your garage.
The important questions are how much clearance the complete system needs, where the open door will sit, and which components work with it. A larger curve should be selected as part of a compatible installation, not purchased as an automatic fix for noise or limited overhead space.

What Does the 32-Inch Radius Mean?
Radius describes the curvature of the track bend. In basic geometry, a 32-inch-radius circle has a 64-inch diameter; neither number describes the width of the metal channel or the height of the door opening.
Thirty-two inches equals 812.8 millimeters. Use the supplier’s nominal specification when ordering rather than rounding that conversion into a different product size.
You may see a listing describe both “2-inch track” and “32-inch radius.” These refer to different features: the track’s nominal channel size and its curved transition. A listing still needs door-height, construction, and application details before it identifies a suitable assembly.
For example, Devanco’s TA-2-SL-0800-32R listing identifies a two-inch, standard-lift assembled track set for an eight-foot-high door with a 32-inch radius. It includes vertical and horizontal tracks. That description illustrates why ordering only by radius leaves important information missing.
Large Radius, High Lift, and Low Headroom
These terms describe different aspects of the installation. A large radius describes the bend; high lift describes a layout that sends the door farther upward before its overhead transition.
Lux Garage Doors’ track-options guide distinguishes standard-radius, high-lift, and low-headroom arrangements. It also notes that increasing the radius requires more headroom. Use the following comparison to frame a conversation with your installer.
| Option | Main distinction | Question to ask |
|---|---|---|
| Smaller standard radius | A tighter curved transition | Does the approved standard layout fit? |
| 32-inch radius | A broader curved transition | Where will the complete assembly sit? |
| High lift | Additional vertical travel before the turn | How much vertical extension is specified? |
| Low headroom | A layout intended for restricted overhead space | Which approved low-clearance system applies? |
A broader curve may help achieve a different overhead layout, but it is not interchangeable with a specified amount of high lift. Ask for the proposed door path on a drawing before deciding which approach meets your goal.

Five Checks Before Buying
1. Identify the existing door
Start with the manufacturer, model, width, height, and construction. Photograph an accessible identification label while the door is closed, without removing hardware or reaching into the mechanism.
Section thickness also deserves attention. Our guide to garage door thickness and construction explains why the complete section differs from its metal skin or insulation layer. Send the model details instead of describing the door only as “insulated steel.”
2. Record usable headroom
Headroom is the space above the opening available for the installation. Check for the lowest obstruction along the proposed path, including beams, ducts, lighting, and overhead storage.
Do not treat 32 inches as a complete installation allowance. Ask the supplier for the minimum clearance of the actual assembly, including its top fixtures, spring arrangement, supports, and opener requirements.
3. Check depth and side space
Record the space extending into the garage and the room beside each jamb. Photograph both sides, because shelving or pipework can make one side more restrictive than the other.
Our overview of garage door opening framing introduces the surrounding structure. Use the selected manufacturer’s drawings for final dimensions and attachment requirements; a general framing guide cannot approve a specialized track layout.
4. Confirm opener compatibility
Give the installer the opener’s exact model and describe whether it uses a ceiling-mounted rail or another arrangement. Ask for written confirmation that the proposed door path and connection geometry suit that model.
Our article on garage door opener horsepower provides buying background. Motor power alone does not answer whether an opener is compatible with a changed track configuration.
5. Request a complete hardware review
Ask which existing components can remain and which need replacement. The answer should cover tracks, rollers, top fixtures, supports, and the counterbalance arrangement, rather than assuming the curved pieces are the entire job.
DASMA’s garage door safety guidance explains that tracks and door sections work together as a system. It identifies door weight, section thickness, headroom, and opener position as reasons existing track may be unsuitable for a replacement door.
How Much Extra Clearance Will You Gain?
There is no universal clearance gain established by the keyword “32 radius.” The useful measurement is the lowest point of the open door and its hardware in the proposed installation.
Subtracting 15 from 32 gives a 17-inch difference between nominal radii. It does not prove that your usable clearance will increase by 17 inches, because the comparison does not define either installed layout.
If you want room for tall equipment, provide its full operating envelope. For a vehicle lift, that includes the vehicle at its intended raised position, and the door’s entire travel path must be checked. A photo of an empty garage is insufficient to confirm those clearances.
Ask the installer to mark the finished open-door height, track position, opener position, and remaining obstructions. Compare those dimensions with your actual goal before approving the work.
Will a Larger Curve Make the Door Quieter?
A broader bend changes the geometry of the transition. It does not establish a measurable noise reduction, a longer roller life, or lower electricity use for your particular installation.
If noise is your main concern, request a diagnosis before choosing a conversion. Describe whether the sound occurs near the curve, throughout movement, or only when the opener starts. That information gives the technician a more useful starting point than a request for a particular radius.
If the diagnosis also involves the motor unit, read our overview of replacing a garage door opener. Ask the service provider to separate the mechanical problem from any optional upgrade.
What Should a Conversion Quote Include?
There is no verified universal installed price for this configuration. A loose track component, an assembled track set, and a completed conversion are different purchases, so comparing their headline prices can be misleading.
Request an itemized proposal with the exact track specification, included components, labor, removal, and any additional work. Ask whether the price covers compatibility checks and final commissioning, and obtain the warranty terms.
For scheduling, distinguish the track conversion from opener work. Our garage door opener installation planning guide can help you prepare questions, but the installer should estimate the duration of your combined project.

Before accepting the proposal, describe your priority in one sentence: “I need the open door to clear this equipment,” or “I want to compare layouts for a new garage.” Then ask the provider to show exactly how the proposed configuration meets that requirement. Keep any unresolved clearance questions on the quote so they are answered before parts are ordered.
Installation and Maintenance Boundaries
Treat a track-radius conversion as professional door-system work. Do not loosen loaded track supports, alter spring tension, or disconnect lift cables to experiment with a different curve.
After installation, retain the specification and owner’s instructions. Ask the technician to demonstrate normal operation and explain the checks appropriate for your particular system.
During routine observation, report scraping, visible deformation, loose supports, or uneven travel. If a roller has left the track, a cable looks damaged, or the door is unstable, stop operating it and keep clear until it is serviced.
Frequently Asked Questions
Is 32-inch-radius garage door track available?
Yes, it appears in manufacturer and supplier catalogs. Availability for your door height and required assembly should be confirmed before ordering.
Is a 32-inch radius the same as 32 inches of high lift?
No, the radius specifies a curve. High lift specifies additional vertical travel within a designed track arrangement.
Can I reuse my existing springs?
Do not assume they remain suitable after changing the layout. Have a trained technician verify the complete counterbalance specification for the proposed configuration.
Can I order the curved sections without a site visit?
A supplier may sell individual components, but that does not confirm their suitability. Provide the door details and obtain an approved layout before committing to the purchase.
Choose the Layout Before the Parts
A 32 radius garage door track is worth evaluating when a broader transition supports a clearly defined layout goal. Gather the model information, document the available space, and request a drawing and complete quote. Buy the confirmed assembly only after its finished clearances and compatibility meet your needs.