
How to Remove a Garage Door Opener Safely
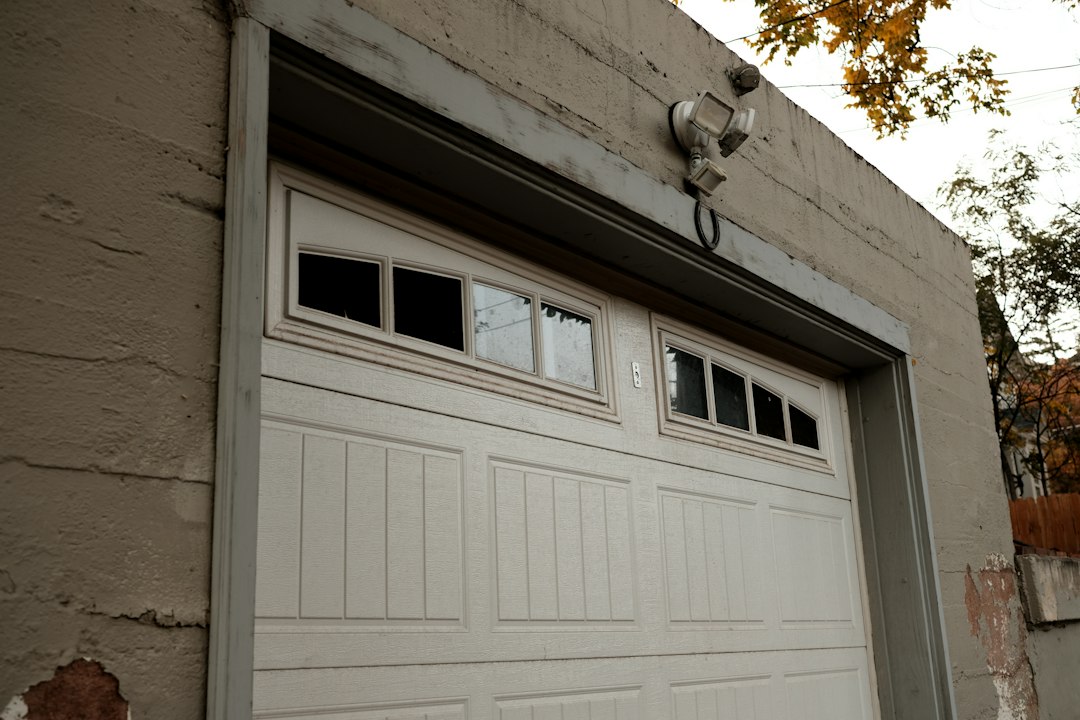
Removing a garage door opener involves more than unbolting the motor. The opener is suspended overhead, connected to a rail and door arm, and attached to a door that may be under spring tension. A safe removal plan first closes and supports the door, disconnects power, separates the opener from the door, and then removes the rail and motor with controlled support. If the door is unbalanced, damaged, or difficult to close, stop and call a garage-door professional.
This guide is for homeowners deciding what the job involves and when to hire help. Exact brackets, fasteners, rail assemblies, and removal sequences differ by manufacturer and model. Follow the product manual, local electrical rules, and the installer’s instructions. Do not loosen springs, cables, drums, or bottom brackets as part of opener removal.
Know which parts are being removed
A typical trolley-style opener has a motor head mounted to ceiling supports, a rail connected to a header bracket, a trolley that travels along the rail, and a door arm linking the trolley to the door. There may also be a wall control, photo-eye safety sensors, a battery backup, Wi-Fi equipment, and an external keypad or remote receiver.
Removing only the motor head is different from removing the rail and all wiring. If replacing the opener, the new system may reuse some mounting points only when the new manual permits it. Record the model number and photograph the existing layout before beginning. Keep small parts and document which wires went to which terminals; do not assume colors or connections are universal.
Close and secure the door first
Make sure the garage door is fully closed before disconnecting the opener. A closed door is generally easier to secure, but it must be stable and able to stay closed. If the door is stuck open, crooked, unusually heavy, or has a broken cable or spring, do not release the trolley or work beneath it. Call a trained technician to secure and repair the door.
Once the door is closed, unplug the opener or switch off the dedicated circuit according to the manual. Confirm that the opener cannot start from a remote, wall control, or app. Remove or disable access devices as appropriate, and tell household members not to operate the door while work is underway. Disconnecting power does not release the tension in the door’s springs.
Separate the trolley from the door arm
The emergency release cord disconnects the trolley from the door carriage; it does not remove spring tension or make an unsafe door safe. With the door closed and the area clear, follow the manufacturer’s instructions to disengage the trolley. The door arm can then be separated from the door bracket as directed. Do not pull or pry on the arm if the door shifts, rises, or feels unstable.
Some manuals describe disconnecting the trolley before removing the opener assembly; others show a model-specific sequence. Read the actual manual rather than following a video for a different product. If the release mechanism is damaged, or the trolley will not disengage, do not force it.
Support the motor and rail before loosening hardware
The opener head and rail can be heavy and awkward overhead. Arrange a helper and stable support for the assembly before removing ceiling or header fasteners. Use suitable ladders or platforms on a solid, level surface, and keep people clear of the area below. Never rely on a single remaining screw or an unsupported bracket to hold the equipment.
Remove hardware in the order specified by the manual, keeping the rail and motor supported as each connection is released. A motor head may be detached from the rail as a separate step, or the rail assembly may be lowered as a unit. Avoid twisting the rail or dropping the motor. If the support framing is damaged, or the mounting method is unclear, stop and get professional assistance.
Handle wires and accessories carefully
Low-voltage wall-control and sensor wires may be attached to the opener terminals or routed through clips along the ceiling. Disconnect them only after power is isolated and only according to the product instructions. If wiring is damaged, connected to household voltage, or difficult to identify, contact an electrician or garage-door technician. Do not cut wires while the opener is energized.
Remove wall controls, photo-eye sensors, keypads, and wireless accessories only if the project requires it. Label components and store any reusable parts. When a replacement opener is installed, the safety sensors and reversing system must be installed and tested for that new unit. A removed opener’s old sensor layout is not proof that the new system is safe.
What to do after removing the opener
With the opener disconnected, the door will need to be operated manually if it is safe to do so. A properly balanced door should not feel excessively heavy, and it should move smoothly on its tracks. If it slams, rises on its own, binds, or feels too heavy, do not keep using it. These symptoms can point to spring or hardware problems that require a professional.
Do not remove the door’s springs, cables, drums, bottom brackets, or track supports while taking off the opener. These parts can be under substantial stored force. The U.S. Consumer Product Safety Commission advises that a malfunctioning door opener should be disengaged until adjusted, repaired, or replaced according to its owner’s manual. For related safety checks, read our guides to broken garage door cables, garage door safety sensors, and opener wiring.
DIY or professional removal?
A homeowner with the correct manual, safe access, a stable closed door, a helper, and suitable support equipment may be able to remove some plug-in openers. The main risks are overhead lifting, falling parts, accidental activation, and disturbing a door that is not balanced. If the project involves hardwired power, a stuck-open door, damaged framing, an unfamiliar system, or any spring or cable issue, hire a qualified professional.
Ask for an estimate that clarifies whether it includes disconnecting accessories, removing the rail and motor, patching or leaving mounting holes, disposing of the old unit, and installing or testing a replacement. If you are replacing the opener, compare models and installation scope in our garage door opener replacement cost guide. Make sure the estimate includes sensor alignment, travel limits, force settings, and the manufacturer’s required safety reversal test.
Frequently asked questions
Can I remove a garage door opener without removing the door?
Usually, the opener can be removed while the garage door remains installed, but it must be closed, stable, and safe to operate manually. Never loosen door springs or cables during the job.
Should the opener be unplugged before removal?
Yes. Isolate power as directed by the manual and prevent activation from wall controls, remotes, or an app before disconnecting wires or hardware.
Can I use the emergency release to remove the opener?
The release separates the trolley from the door; it does not remove the opener or neutralize spring tension. Use it only with the door closed and stable, following the model manual.
When should I call a professional?
Call a technician if the door is stuck open, unbalanced, damaged, or supported by questionable hardware, or if the work involves springs, cables, hardwiring, or heavy overhead lifting.
Sources
- U.S. Consumer Product Safety Commission, Garage Door Opener Safety Alert
- The Genie Company, Garage Door Opener Safety
- Chamberlain, Chain Drive Opener Installation Manual
Images: Unsplash, Julia Rodriguez and Brett Jordan. Used under the Unsplash License.